How to Upscale an Image to 4K With AI
Learn how an ai image upscaler 4k actually works, what it can fix, what it can't, and how to upscale a photo to 4K in Plurel for 1 credit.
Updated Sep 30, 2026 6 min read
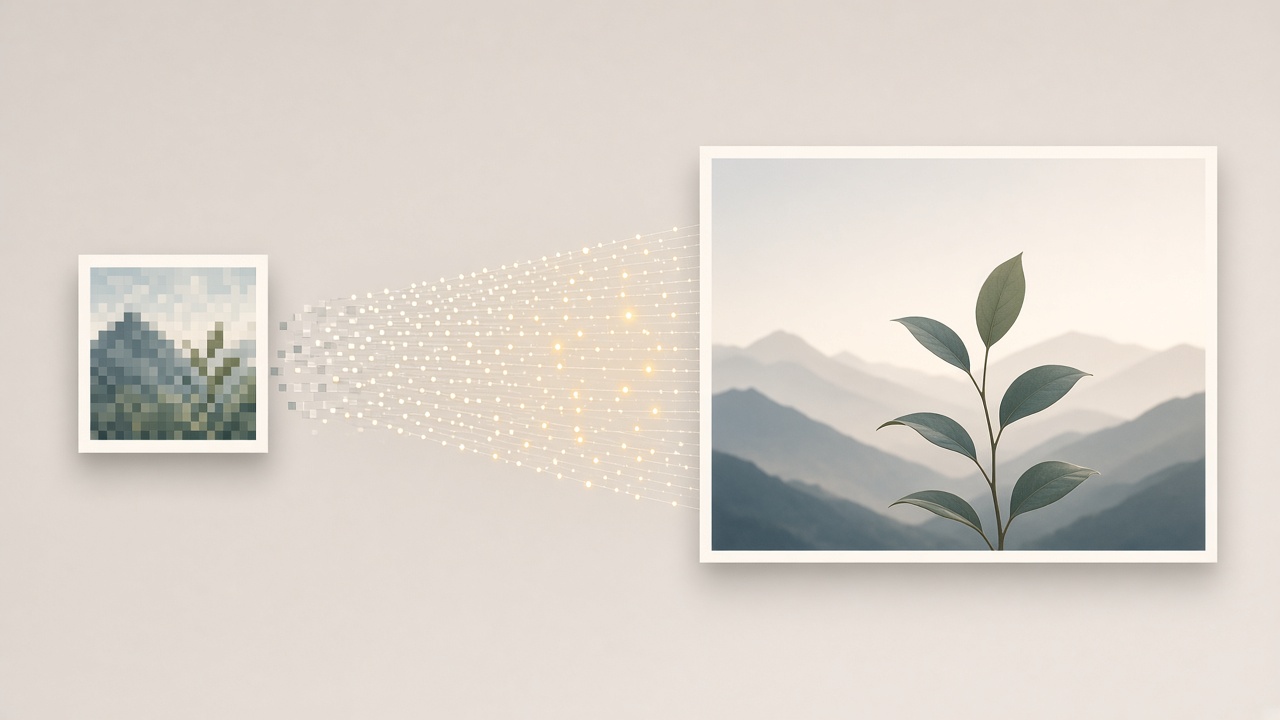
An AI upscaler can turn a small, soft photo into a sharp 4K image by rebuilding edges, texture and fine detail instead of just stretching pixels. It works well on images that are simply too small or slightly soft, and it cannot invent detail that the camera never captured in the first place. Here's what the technology actually does, where it fails, and how to run it in Plurel for 1 credit.
What "4K" actually means for a photo
4K isn't a vague marketing word — it's a pixel count. 4K resolution means 3,840 x 2,160 pixels for consumer displays - four times the pixel count of Full HD. That number matters because it tells you exactly what you're aiming for: if your source photo is 960×540, you need a 4x upscale to hit UHD; if it's already 1920×1080, a straight 2x gets you there.
| Source size | Scale needed for 4K | Result |
|---|---|---|
| 960×540 | 4x | 3840×2160 (exact 4K) |
| 1280×720 | 3x | 3840×2160 (exact 4K) |
| 1920×1080 | 2x | 3840×2160 (exact 4K) |
| 512×512 (square AI image) | 4x | 2048×2048 (4K on the long edge) |
Worth knowing before you pick a target: "4K" for a screen and "4K" for a print are different jobs. A 3840×2160 file fills a 4K monitor or TV edge to edge. For printing, what matters is pixels per inch at the final size — a 3840×2160 image prints cleanly at roughly 13×7 inches at 300 DPI, which is plenty for a flyer or a framed photo but not a large poster. If you need a bigger print, upscale, check the pixel dimensions against your print size, and upscale again if there's room to go higher.
How AI upscaling actually works
Old-school resizing (bicubic, bilinear) just stretches the pixels you already have, which is why enlarged photos look soft and blocky. AI upscaling is a different mechanism: a model trained on millions of image pairs learns what sharp edges, skin, hair and fabric look like at high resolution, then reconstructs believable detail when it enlarges your photo. AI models learn to recognize edges, textures, and structures, and they reconstruct sharp detail rather than averaging it away, which is why the jump from a blurry small file to a crisp 4K version can look dramatic compared with a basic resize.
That word "reconstruct" is the key thing to understand before you upload anything. The model isn't recovering the exact original scene pixel-for-pixel — it's generating plausible detail based on patterns it has seen before. For a landscape, a product shot, or a portrait where the face is clearly visible, that's usually indistinguishable from the real thing. For something the model has never seen clearly, it's a guess.
What an AI upscaler can genuinely fix
AI upscaling is the right tool when the problem is size, compression or mild softness, not a ruined original. In practice it does well on:
- Small or thumbnail-sized photos that need to be bigger for print, a listing, or a screen
- JPEG compression blocks and banding from repeated saves or downloads from chat apps
- Slightly soft focus from a phone camera or an old scan
- Low-resolution product or headshot photos that need to look sharp at full screen size
- AI-generated images from a fast image model that came out smaller than you need
What it cannot fix — and why
This is the part most tools gloss over, and it's worth being honest about before you spend a credit. The source image may genuinely lack detail. AI upscaling recovers structure from existing low-resolution data. It can't invent detail that was never there. If the original image was blurry (out of focus, motion blur), upscaling can't fix that.
The clearest way to think about it: upscaling fixes a resolution problem, not a capture problem.
- Severe motion blur — if the subject or camera moved during the shot, the streak is baked into the pixel data, not caused by low resolution. Sharpening a streak just gives you a crisper-looking streak.
- Completely missed focus — if the camera focused on the background and the subject is a soft blob, there was never enough information captured about the subject's face or texture for any model to rebuild accurately.
- Faces a few pixels wide — the model has to guess almost everything, and guessed faces often don't match the real person.
- Extreme low light and noise — heavy grain destroys the fine detail the model needs to work from.
- Small legible text — a blurry sign or label can come back sharper-looking but still spell something different from the original.
A good gut check before you upscale: zoom into the original at 100%. If a face, a logo or text is unreadable at native size, 4K output won't make it readable — it'll make it readable-looking, which is a different thing for anything you plan to rely on (ID photos, contracts, evidence).
How to upscale an image to 4K in Plurel
Plurel's Upscale tool runs this exact reconstruction process for 1 credit per image, and it works on any photo you upload or any image you generated in the app.
- Open plurel.tech and sign in — it's free, no card required.
- Tap Image in the row under the composer, then choose Upscale, or jump straight there with https://plurel.tech/?model=upscale.
- Upload the photo you want to enlarge. This works on phone photos, old scans, screenshots, or an image Plurel just generated for you.
- Run the upscale. It costs 1 credit and returns a sharpened, enlarged version up to 4K.
- Download it, or if it's still not quite right, use follow-up in the chat — the same edit-by-instruction behavior that lets you say "make the monkey wear a hat" also lets you ask for another pass or a different crop.
If the photo you're upscaling is a generated image and you want more detail in the source before enlarging it, generate at a higher tier first: Nano Banana 2 (4 credits) and GPT Image 2.5 (3.5 credits) both produce sharper source files than a quick draft model, which gives the upscale step more real detail to work with.
If you're prepping a product photo, headshot, or ad
Upscaling is usually one step in a short chain, not the whole job. A typical store-photo workflow is: shoot on a phone, remove the background with Remove BG (0.5 credits), then upscale the result to 4K (1 credit) before it goes into a listing or a flyer. The AI product photography guide walks through that full sequence, and the background remover guide covers the removal step in more detail. For a selfie that needs to become a professional profile photo, the AI headshot guide covers the Headshot tool, which you can follow with an upscale if you need a larger file for printing.
Troubleshooting and tips
If the result still looks soft, the problem is almost always the source, not the upscaler. Check the original at full zoom before blaming the tool.
- Start from the highest-quality version of the file you have — a re-download of a social media photo is already compressed twice; find the original if you can.
- Don't stack heavy sharpening on the source file before upscaling. Pre-sharpening amplifies compression artifacts that the model then treats as real detail.
- For faces, expect the best results when the face is reasonably visible in the original — not turned away, not deep in shadow, not a few pixels across.
- If you only need a modest size bump, a smaller scale factor generally holds closer to the truth of the original photo than a large one.
- If the image needs more than resolution — better lighting, a cleaner background, a different outfit — those are separate jobs. Plurel's Edit, Remove BG and Styling tools handle those changes before or after the upscale step.
The bottom line
A 1-credit upscale in Plurel will make a small or soft photo look genuinely sharp at 4K; it just won't turn a badly blurred or barely-captured shot into something it never was.
Questions people ask
- Can AI upscaling really turn a low-res photo into 4K?
- Yes, for photos that are simply small, soft, or compressed. AI upscaling reconstructs believable edges and texture instead of just stretching pixels, which is why results look far sharper than a basic resize.
- Will an AI upscaler fix a blurry photo?
- It helps with mild softness, low resolution, and compression artifacts, but it cannot reverse severe motion blur or a completely missed focus, since that detail was never captured in the first place.
- What pixel size is 4K exactly?
- Consumer 4K (UHD) is 3840x2160 pixels, four times the pixel count of 1080p Full HD.
- How much does it cost to upscale an image to 4K in Plurel?
- The Upscale tool costs 1 credit per image.
- Is a 4K upscale good enough to print?
- A 3840x2160 file prints cleanly at roughly 13x7 inches at 300 DPI, which suits flyers and framed photos but not large posters without a further upscale.
- Should I upscale a photo or a generated image first?
- Upscale the sharpest source you have. For AI-generated images, a higher-detail model like Nano Banana 2 or GPT Image 2.5 gives the upscaler more real detail to work with than a fast draft model.
Sources
Keep going
How to Make an AI Influencer (and Keep Her Consistent)
Learn how to make an AI influencer with a consistent face across photos and video, then build one step by step in Plurel.
Updated Sep 19, 2026

AI Product Photography: Phone Photo to Store-Ready Shot
Learn AI product photography step by step: shoot on your phone, clean the background, generate a styled scene, and export a store-ready image or clip.
Updated Sep 26, 2026
AI Background Remover: How to Remove a Photo Background
Learn how AI background removers work and how to remove any photo's background cleanly, with sharp edges, in one click for 0.5 credits.
Updated Sep 19, 2026
Best AI Image Generator in 2026: 5 Models Compared
The best AI image generator in 2026 depends on the job. Compare Nano Banana 2, Seedream 5, Grok Imagine 2, GPT Image 2.5 and Qwen Image 3 Pro on cost and use.
Updated Sep 23, 2026